Channel Letter Mounting Basics
Channel letter installation is the final step that determines whether your illuminated sign performs safely for years. Mounting isn’t just about attaching letters to a wall—it’s about choosing the right method for your facade material, visual goals, and electrical requirements. A poorly installed sign can become a liability, especially in wind-prone or high-moisture environments.
Regardless of your mounting choice, every channel letter needs a secure anchor point. Common facade materials include brick and stone (ideal for direct stud mounting), glass curtain walls (require raceway or standoff systems), wood and metal (versatile but need careful fastener selection), and EIFS and stucco (often need internal reinforcement plates to distribute weight).
Before you order letters, assess your facade, decide on the mounting style, and confirm local sign codes. This guide walks through the four main mounting options so you can pick the one that fits your project.
Four Channel Letter Mounting Methods Compared
Channel letter mounting options fall into four categories. Each has distinct visual, structural, and cost characteristics. Understanding these differences is essential when specifying signs for a commercial project.
| Mounting Type | Appearance | Cost Factor | Facade Compatibility | Best For |
|---|---|---|---|---|
| Flush / Stud Mount | Clean, premium, letters sit close to wall | Low–Moderate | Brick, stone, concrete, solid wood | New construction on solid facades |
| Raceway Mount | Visible horizontal box behind letters | Moderate (highest) | Glass, EIFS, stucco, or when no existing wiring | Retrofitting old signs, hiding wires |
| Standoff / Spacer Mount | Letters float off wall with depth | Moderate | Most facades; needs mounting depth allowance | Halo-lit and backlit signs for glow effect |
| Frameless / Wireless | Minimalist, no visible hardware | Higher (custom fabrication) | Requires precise facade planning | High-end architectural projects |
Flush / Stud Mount
Stud mounting is the most direct method. Individual letters are attached to the facade using threaded studs or brackets welded to the back of each channel letter. This produces the cleanest, most premium look because letters sit nearly flush against the wall with no visible raceway or spacer bars.
Flush mount channel letters work best on solid, flat surfaces—brick, stone, concrete, and metal panels. Each letter is anchored at 2–4 points depending on size and wind load. For large 3D outdoor site letters, stud mounting provides the structural rigidity needed for high-wind zones without adding visual clutter.
Raceway Mount
Raceway mounted channel letters sit in front of a horizontal enclosure that houses the transformer, wiring, and power connections. The raceway box runs the length of the sign, and each letter connects to it with short power cables.
This method is the easiest to install because it requires only one power connection point rather than individual wiring runs to every letter. Raceway mounting is especially common when replacing an old sign—the existing raceway can often be reused—or when the facade is glass or EIFS and can’t support direct stud anchors.
The trade-off is cost and visibility. Raceway boxes add material and fabrication expense. If the raceway color doesn’t match the facade, it becomes a visible horizontal line. For projects like white 3D backlit channel letters, raceway mounting ensures clean power distribution while keeping the face of each letter free of visible hardware.
Standoff / Spacer Mount
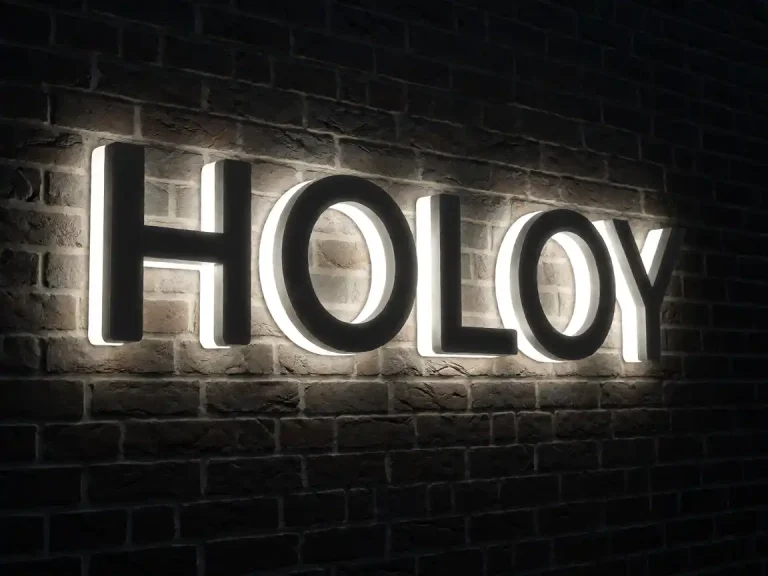
Standoff mounting attaches letters to the wall using cylindrical spacers—typically 2 to 6 inches long—that create visible depth between the letter face and the facade. This method is particularly suited to halo-lit (reverse-lit) channel letters, where the LEDs shine light backward to create a soft glow around the letter perimeter.
The gap created by standoffs is essential for halo illumination: without it, the light would be blocked against the wall. Standoff mounting also works for front-lit letters when a more dimensional, “floating” appearance is desired. It’s compatible with most facade types as long as the mounting surface can handle the offset load.
Frameless / Wireless Mount
Frameless or wireless channel letters eliminate the raceway entirely. Instead, each letter is wired individually back to a remotely located power supply, with conduits or surface-mount raceways routed discreetly along the building.
This approach delivers the most minimalist aesthetic—no visible box, no spacer bars, just letters anchored directly to the facade. It requires careful planning during the design phase because wire runs and conduit paths must be coordinated with the architect and electrician. Frameless mounting is a premium option often specified for high-end commercial and retail signage.
Wiring and Power for Mounted Letters
Channel letter installation involves more than mechanical attachment—it requires a reliable electrical plan. Most illuminated channel letters operate on low-voltage DC power (12V or 24V), which is safer and more energy-efficient than line-voltage systems.
Key wiring considerations include:
- Transformer placement: Power supplies are typically located inside the raceway box or in a separate electrical closet. Ensure accessible placement for maintenance.
- Wire routing: Each letter’s LED modules connect via short internal wiring to a common bus, then run back to the transformer. For standoff-mounted letters, wires are hidden behind spacers or routed through concealed conduits.
- Code compliance: All outdoor wiring must meet local electrical and sign codes. Conduit or raceway enclosures protect cables from weather and physical damage. In many jurisdictions, a licensed electrician must complete the final connection.
- Surge protection: Install surge suppressors at the transformer input, especially for signs in areas prone to electrical storms.
If your building already has existing sign wiring, raceway mounting can often connect directly to the old system—saving significant installation cost and time.
Height and Clearance Requirements
Mounting height is governed by local sign codes and practical visibility. General guidelines:
- Minimum clearance: Signs above pedestrian walkways typically need 8–10 feet of vertical clearance to avoid head-level obstruction.
- Optimal viewing height: For street-facing signs, the bottom of the letter should be between 10 and 14 feet above grade to maximize visibility from vehicles and pedestrians.
- Roofline and overhang distance: Maintain at least 12 inches between the sign and any roof overhang or awning to allow airflow and prevent heat buildup on LEDs.
- Halo-lit clearance: Standoff-mounted halo letters need additional wall clearance—typically 3 to 6 inches—to allow the backlit glow to spread evenly without being blocked by the facade surface.
Always verify local sign codes before finalizing mounting height. Many municipalities require a permit and may restrict sign placement near intersections, historic districts, or highway frontage.
Installation Cost and Timeline
Professional channel letter installation cost varies by method, sign size, and facade complexity. Typical ranges:
- Flush/stud mount: $75–$150 per letter for standard-sized letters (12–24 inches), including hardware and labor.
- Raceway mount: $150–$300 per letter, plus raceway fabrication ($200–$500 per linear foot).
- Standoff mount: $100–$200 per letter, depending on spacer length and facade preparation.
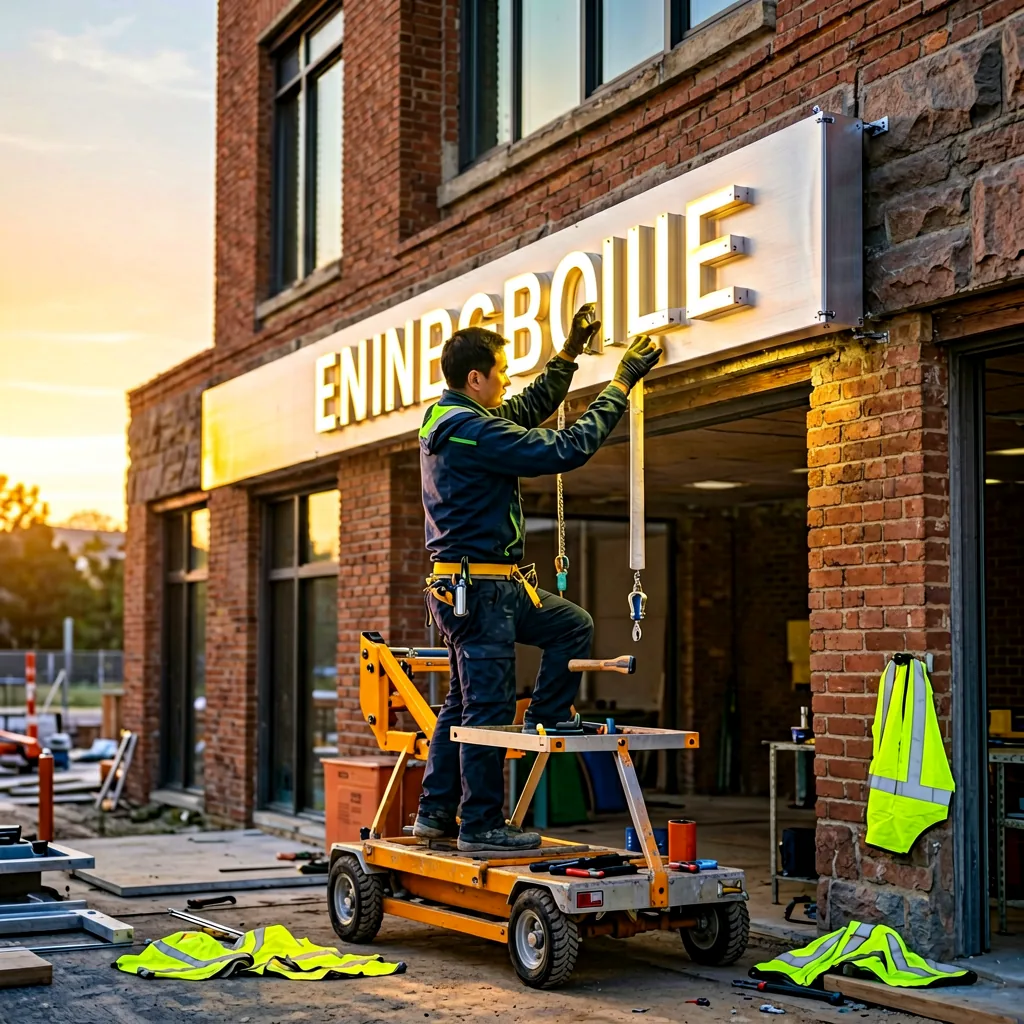
For large signs exceeding 15 feet in height or spanning multiple stories, a crane or lift is required—adding $500–$2,000+ to the project. Ladder-only installation is feasible for signs up to approximately 12 feet when the facade is accessible and wind conditions are calm.
Timeline for a professional installation team is typically 1–2 days for a standard storefront sign and 2–5 days for a large building-mounted sign. Allow additional time for permit approval and conduit rough-in if the building requires electrical work.
How to Order the Right Mounting for Your Project
When specifying channel letter installation, communicate the following to your manufacturer to ensure the sign is engineered for your facade:
- Facade material: Brick, concrete, glass, EIFS, or metal panel? This determines stud length, anchor type, and whether a raceway or standoff system is needed.
- Wall condition: Is the surface flat and solid, or does it have texture, insulation, or uneven planes?
- Existing wiring: Does the building have pre-existing sign power conduits, or does everything need to run new?
- Desired look: Do you want letters flush to the wall, floating with spacers, or a minimalist frameless appearance?
- Local codes: Share any sign permits or height restrictions your municipality requires.
At Y SIGNS LED, we provide detailed mounting drawings and hardware kits matched to your specific facade. Whether you’re installing front-lit resin letter signs for a retail storefront or planning a large-scale halo-lit installation, our team can specify the correct mounting method and include all required hardware in your order.
Contact Y SIGNS LED today to discuss your facade, mounting preferences, and project timeline. Get a tailored quote with mounting recommendations included—no guesswork, no surprises.